How To Crochet A Mermaid Tail Photo Prop
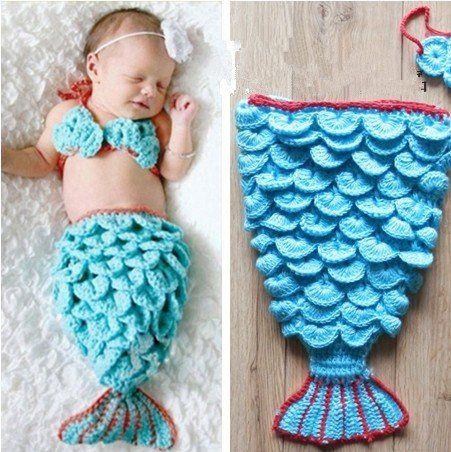
Omg! This is adorable! I think a mermaid tail might be beyond my crochet skill level but I might just have to try! Yolanda Soto-Lopez, from the All Crafts channel on YouTube, has the most spectacular video tutorial.
She takes us through every step of the creative process. After watching it I have more confidence that I might be able to pull off one of these gorgeous mermaid tails.
Is there an adult version of this costume? I am thinking Halloween. Hehehe. I was going to go as a Stormtrooper but a mermaid would be cool (maybe a little too cool, October…Burrrr).
Here’s the adorable video tutorial… Enjoy!
Are you ready to add a touch of enchantment to your photo sessions?
Crocheting a mermaid tail photo prop is a fun and creative way to capture magical moments, whether for a child’s birthday, a themed photoshoot, or just for some whimsical fun.
This guide will walk you through the steps to create your very own mermaid tail, complete with tips, tricks, and project ideas.
 Video One (English)")
I wish I had a little girl of my own to dress up like this! Maybe there is a baby shower coming up and I can make someone for a friends.
I love the idea of having a little mermaid. I love the movie too! Oh no, now “Under the Sea” is stuck in my head. Take a walk down memory lane with me and sing the song with me.
Mermaid Tail Crochet
From Pinterest
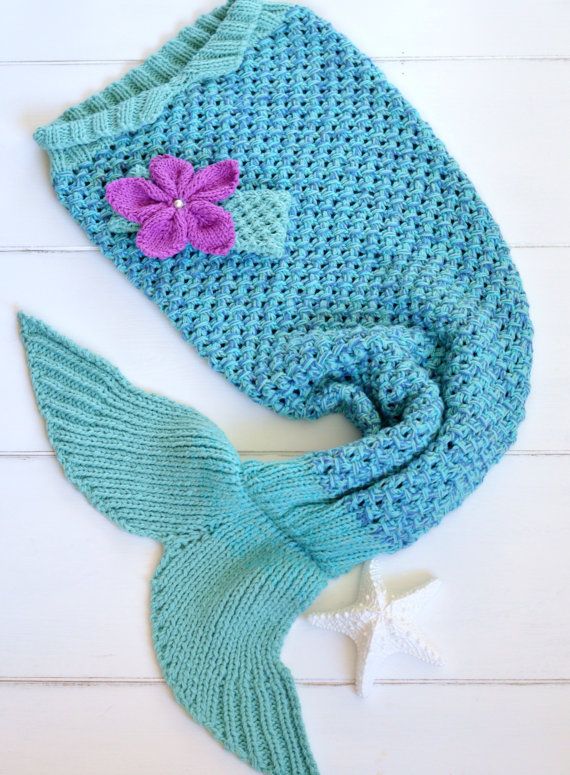
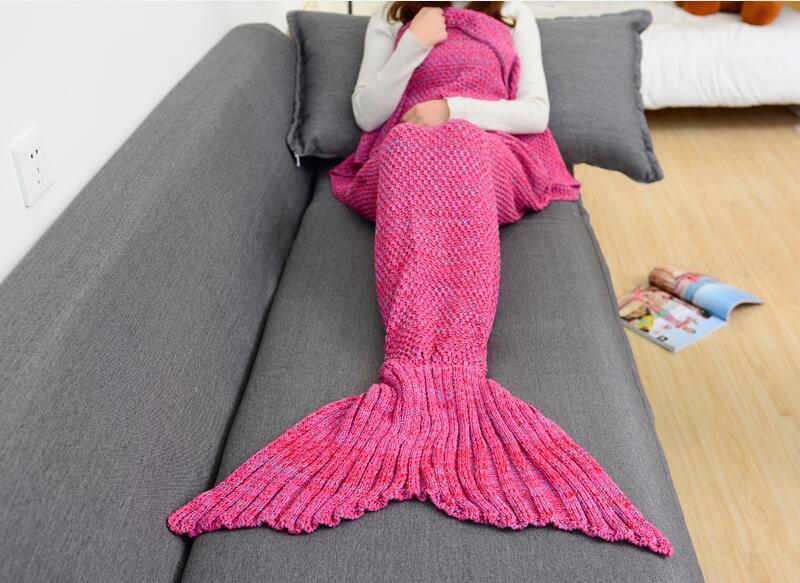
From Pinterest
Materials Needed
Before you start, gather the following materials:
- Yarn: Choose soft, vibrant yarn in colors like teal, purple, or pink to mimic a mermaid’s scales.
- Crochet hook: A size appropriate for your yarn (commonly size H/8 or I/9).
- Scissors
- Tapestry needle: For weaving in ends.
- Measuring tape: To ensure the correct size.
Optional:
- Glittery yarn for a sparkly effect
- Shell or starfish appliqués for decoration
Step-by-Step Guide to Crocheting a Mermaid Tail
1. Foundation Chain
Start by creating a foundation chain that will determine the width of the tail:
- Chain 60-80: Adjust based on the size you want (children or adults).
2. Crochet the Body of the Tail
Create the main body of the mermaid tail:
- Row 1: In the 4th chain from the hook, make 1 double crochet (DC) and continue making DCs across the chain.
- Row 2: Chain 3, turn, and make a DC in the first stitch. Then, make 2 DC in each stitch across to create a wider body.
- Repeat: Continue alternating rows of DC and increase until the body reaches about 20-30 inches in length.
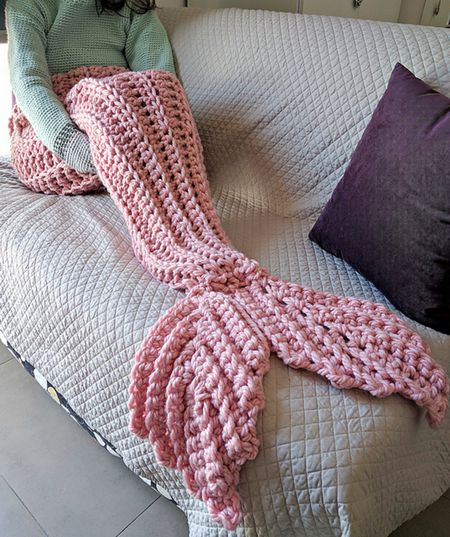
3. Create the Fins
Now it’s time to make the tail fin:
- Chain 20-30: For the width of the fin.
- Row 1: DC in the 4th chain from the hook and across.
- Next Rows: Create a series of shell stitches (5 DC in one stitch) at regular intervals to create the fin shape.
- Finish Off: Once you reach the desired fin width, leave a long tail for attaching.
4. Assemble the Tail
Now, it’s time to put your mermaid tail together:
- Attach the Fin: Sew the fin to the bottom of the tail body using your tapestry needle.
- Weave in Ends: Ensure all yarn tails are woven in for a neat finish.
5. Decorate
Add your own flair to the mermaid tail:
- Appliqués: Sew on shell or starfish appliqués for extra charm.
- Sparkle: If using glittery yarn, add a few strands for a magical touch.
Learn how to crochet a beautiful mermaid tail photo prop with our easy step-by-step guide! Perfect for magical photos and imaginative play.
Crocheting a mermaid tail photo prop is a delightful way to celebrate creativity and capture magical moments. With this guide, you’ll be well on your way to creating a stunning piece that can be cherished for years to come.
CHECK MORE CROCHET PATTERNS