How to Crochet the Zig Zag Puff Stitch
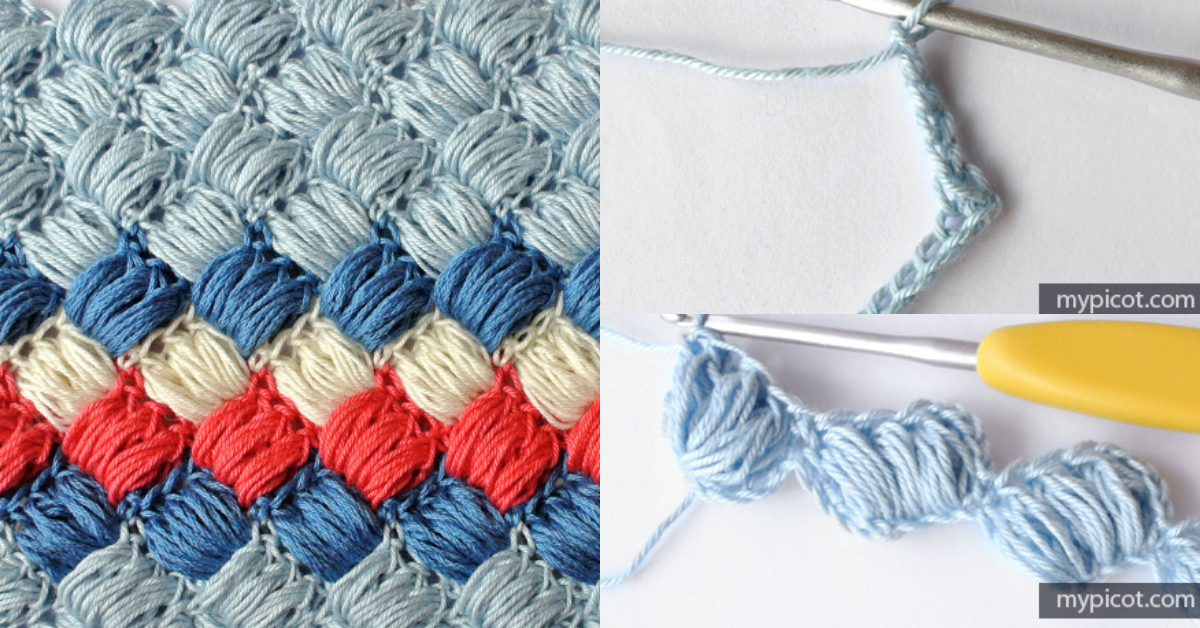
Our suggestion today is another different and wonderful stitch that will give a special shine to your crochet work.
Today we show you how to Zig Zag puff stitch.
We leave here a video tutorial and some ideas to apply Zig Zag puff stitch.
See too: Crochet Leopard Stitch – Video and wonderful ideas
How to Crochet the Zig Zag Puff Stitch
Crocheting with texture and dimension can elevate any project, adding both visual interest and a plush, cozy feel. The Zig Zag Puff Stitch is a standout stitch that offers a fun, zigzag pattern full of texture that pops. Whether you’re making blankets, scarves, or unique accessories, this stitch is a wonderful way to bring a little extra style to your creations.
In this guide, we’ll break down the process step-by-step to help you master the Zig Zag Puff Stitch with ease.

Crochet the Zig Zag Puff Stitch Ideas
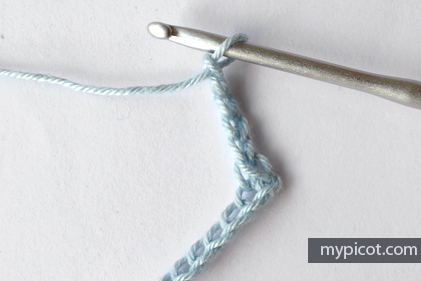
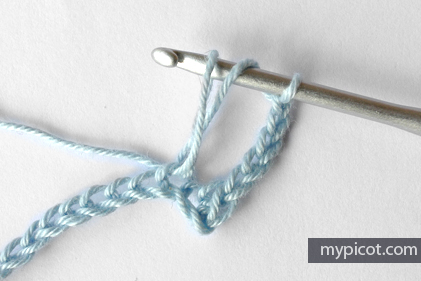
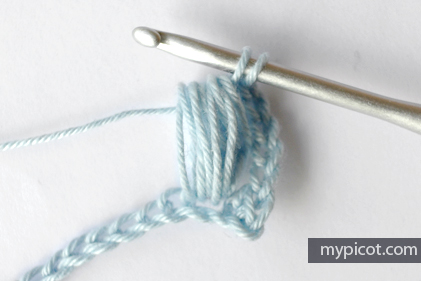
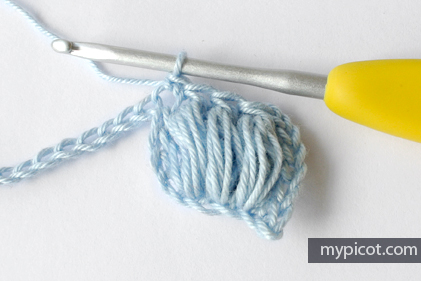
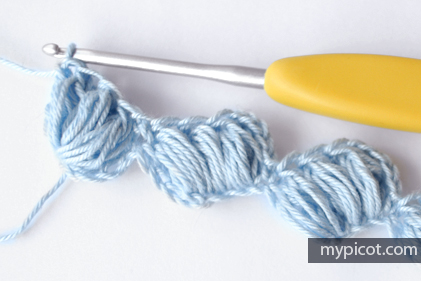
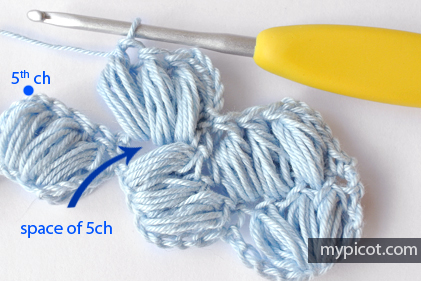
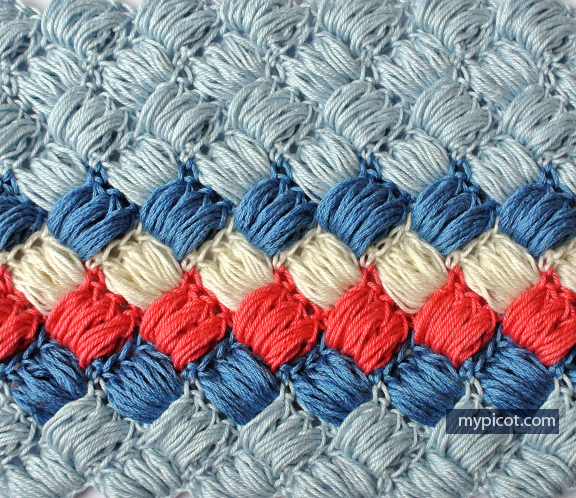
mypicot.com
Step 1: Begin with a Foundation Chain
- Foundation Row: Start by chaining a multiple of 6 stitches plus 2 (e.g., 18 + 2 for practice). This will ensure the zigzag pattern lines up evenly across the rows.
- Row 1: SC in the second chain from the hook and across the row to set a foundation row. Turn your work.
Step 2: Create the First Row of Zig Zag Puffs
- Row 2 (Puff Row):
- Chain 3 (counts as your first DC).
- Skip 2 stitches, DC in the next stitch. Now, work a puff stitch in the same stitch.
- Skip 2 stitches, DC in the next stitch, and repeat the puff stitch in the same stitch.
- Repeat this pattern across, and end with a DC in the last stitch. Turn your work.
Step 3: Work the Zig Zag Effect
- Row 3:
- Chain 1, SC in each stitch across the row.
- Turn your work.
- Row 4 (Offset Puff Row):
- Chain 3 (counts as your first DC).
- Skip the next stitch, DC in the following stitch, then work a puff stitch in the same stitch.
- Continue across, placing your puff stitches in the spaces between the puffs from the previous row.
- End with a DC in the last stitch, and turn your work.
Step 4: Repeat Rows
- Rows 5 and Beyond: Repeat Row 3 and Row 4 until you reach your desired length.
- Adjust your puff stitch placements to keep the zigzag pattern consistent.
- Finish with a row of single crochet to create a clean edge.
To make the puffs extra fluffy, yarn over more times before pulling through to close each puff. You can experiment to find the look you like best!
Learn the art of crocheting the Zig Zag Puff Stitch with this easy tutorial! Perfect for creating textured blankets, scarves, and more. Follow along for a stylish crochet technique!
Crocheting the Zig Zag Puff Stitch adds a beautiful, textured effect to any project. With this guide, you're ready to create stunning pieces that combine style with coziness, ideal for any season or occasion!
CHECK MORE CROCHET PATTERNS