How to make a crochet teacup
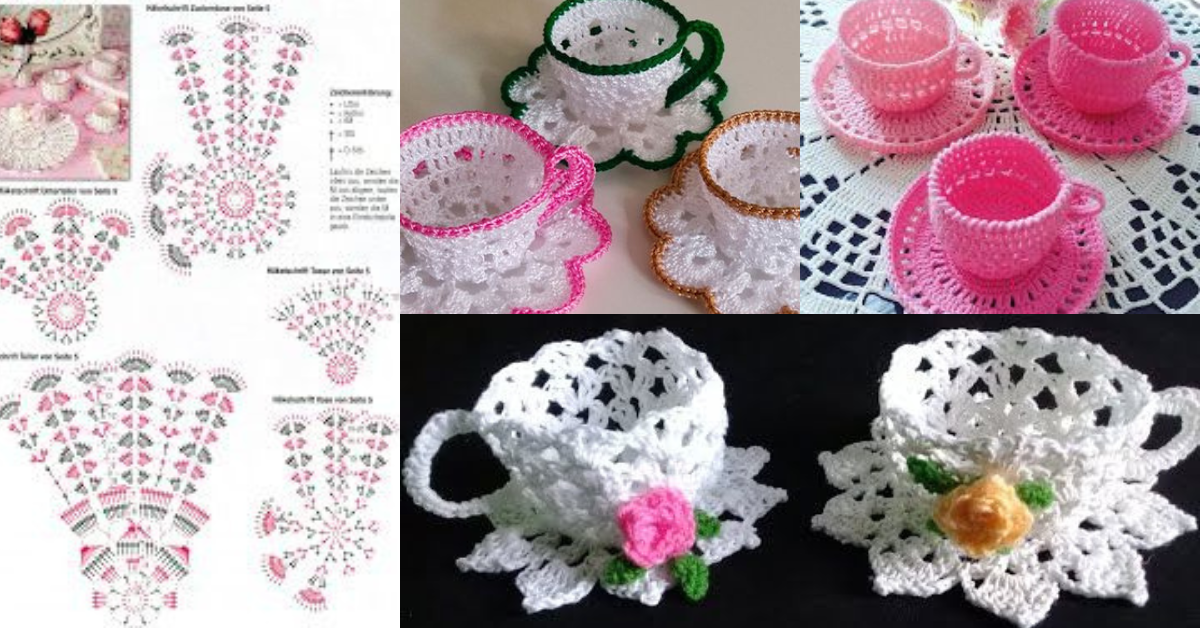
Crochet is a very versatile art with a wide variety of options for all tastes and all styles. For those who like crochet ornaments, today's article is perfect for you.
Today we show you how to crochet tea cups.
A super cute and original idea, perfect for those who like stylish details.
See too: How to Crochet a Christmas Gnome
Table
How to make a crochet teacup
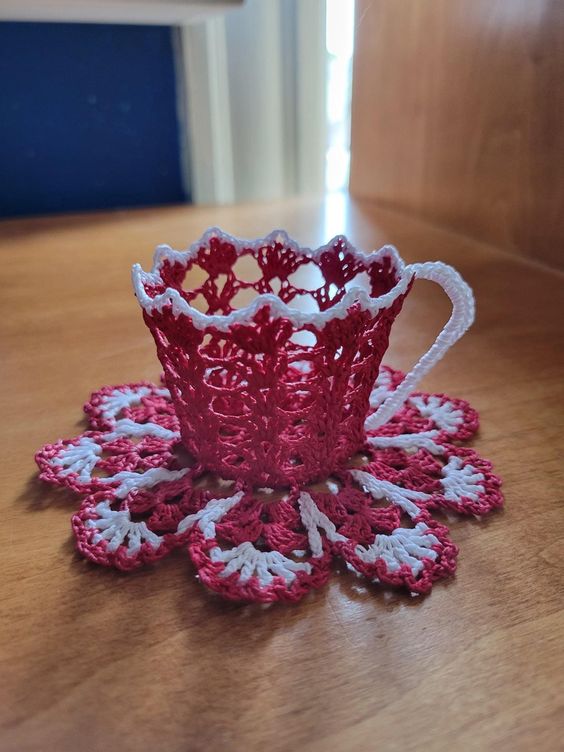
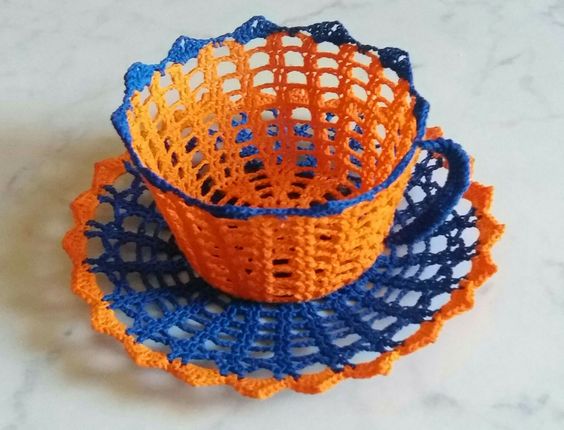
Check out the step-by-step video and some inspiring ideas. There are ideas and models for all tastes and all styles.

Choose your favorite and start working now.
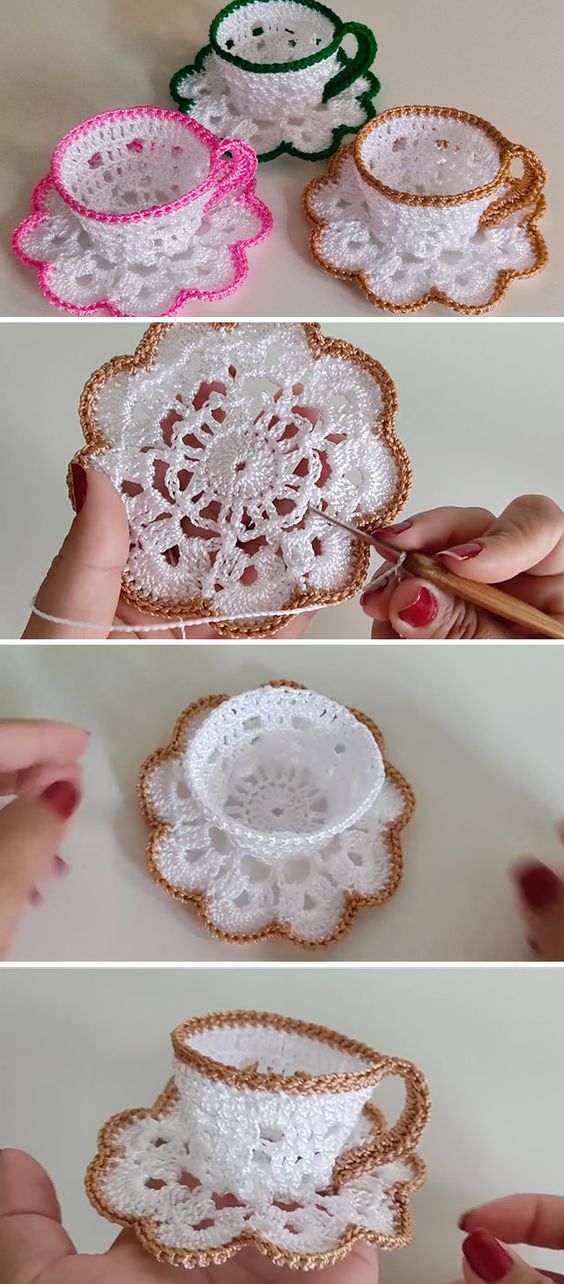
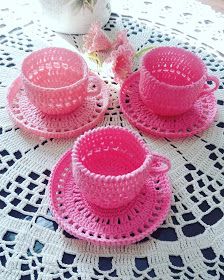
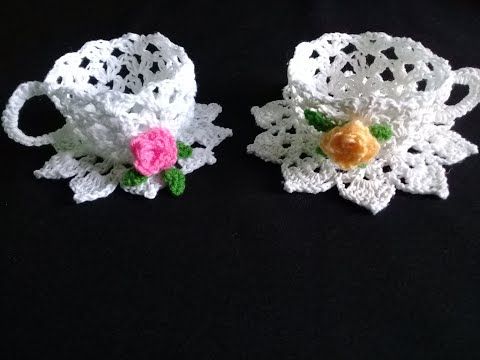
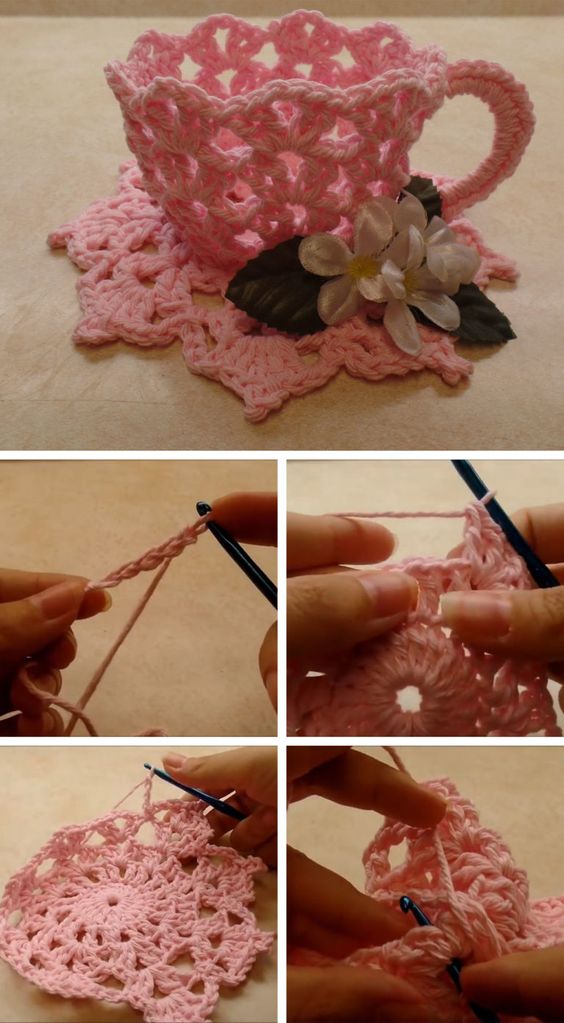
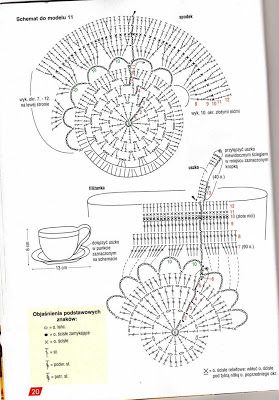
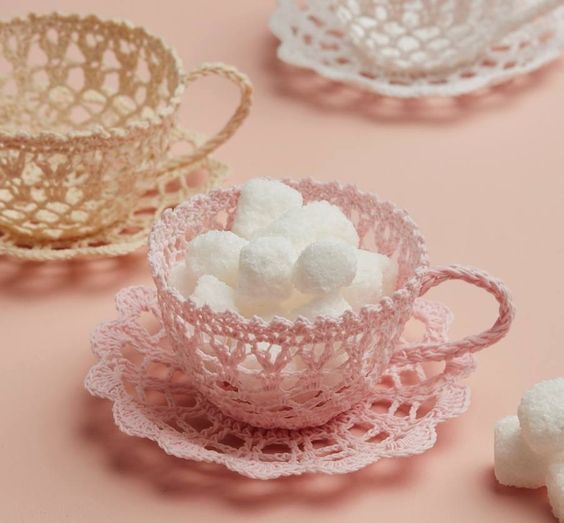
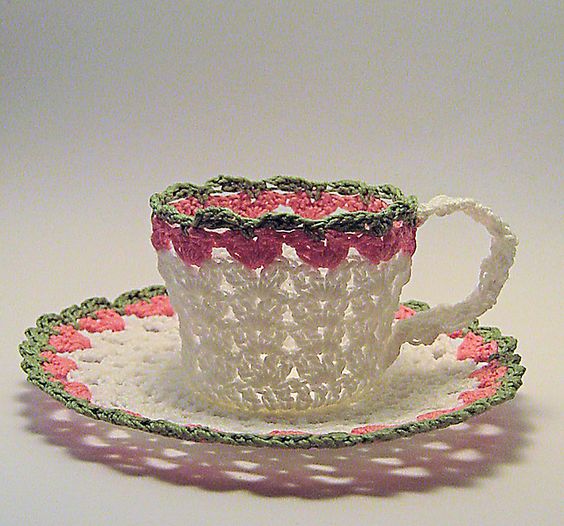
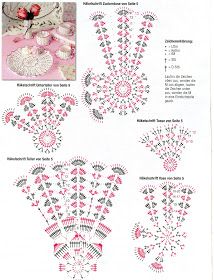
Step-by-Step Instructions for Making a Basic Crochet Teacup
Step 1: Create the Base of the Teacup
- Start with a Magic Ring:
- Begin by making a magic ring to create the base of your teacup. This allows for a tight center.
Magic Ring Instructions: - Wrap the yarn around your fingers to form a loop. - Insert your hook into the ring, yarn over, and pull up a loop. - Round 1:
- Work 6 sc into the magic ring. Pull the ring tight to close it and join with a sl st to the first sc.
- Increase for Shape:
- To create the base of the cup, continue working in rounds while increasing stitches:
- Round 2: Ch 1, 2 sc in each stitch around (12 sc).
- Round 3: Ch 1, sc in the first stitch, 2 sc in the next (repeat) (18 sc).
- To create the base of the cup, continue working in rounds while increasing stitches:
Step 2: Shape the Body of the Teacup
- Working Upwards:
- After reaching the desired diameter for the base, start working in rounds without increases to form the body of the teacup.
- For example, continue working in sc for several rounds until the cup reaches your desired height.
- Adding Texture:
- Consider alternating stitches for texture. For example, switch between sc and dc in every other round for a visually interesting design.
Step 3: Create the Handle
- Foundation for the Handle:
- After reaching the desired height of the teacup, you will create the handle. Chain about 10-12 stitches to form the handle.
- Joining the Handle:
- Work back along the chain using sl st or sc to give the handle a more structured look.
- Once you reach the end of the chain, attach it to the side of the teacup using a sl st.
- Securing the Handle:
- Use your yarn needle to sew any loose ends and secure the handle in place, ensuring it can hold its shape.
Step 4: Finishing Touches
- Adding Color:
- If desired, change yarn colors to create stripes or patterns on your teacup. Simply change colors at the beginning of a round.
- Embellishments:
- Consider adding decorative elements like flowers, buttons, or embroidery to personalize your teacup.
- Weave in Ends:
- Use a yarn needle to weave in any loose ends for a clean finish.
Creative Variations for Your Crochet Teacup
1. Color Combinations
- Instructions: Experiment with different colors for the body and handle of the teacup. You can create a two-tone design or use multiple colors for a playful look.
2. Different Sizes
- Instructions: Adjust the number of stitches and rows to create teacups of various sizes. This is great for making a set of matching cups in different sizes.
3. Decorative Elements
- Instructions: Add embellishments like small flowers or leaves to the side of the teacup for a charming garden-themed design.
4. Themed Designs
- Instructions: Create holiday-themed teacups, such as using red and green for Christmas or pastels for spring celebrations.
Using Your Crochet Teacups
Once your crochet teacups are complete, consider these creative uses:
1. Home Decor
- Use your crochet teacups as decorative pieces on shelves, mantels, or tables. They add a cozy and handmade touch to your home.
2. Gift Giving
- Crochet teacups make thoughtful gifts. Pair them with tea bags or small plants for a unique present.
3. Tea Parties
- Use your crochet teacups as part of a tea party setup. They can serve as charming holders for snacks or beverages.
4. Photography Props
- Use crochet teacups as props in photoshoots. Their whimsical designs will add charm to any picture.
CHECK MORE CROCHET PATTERNS