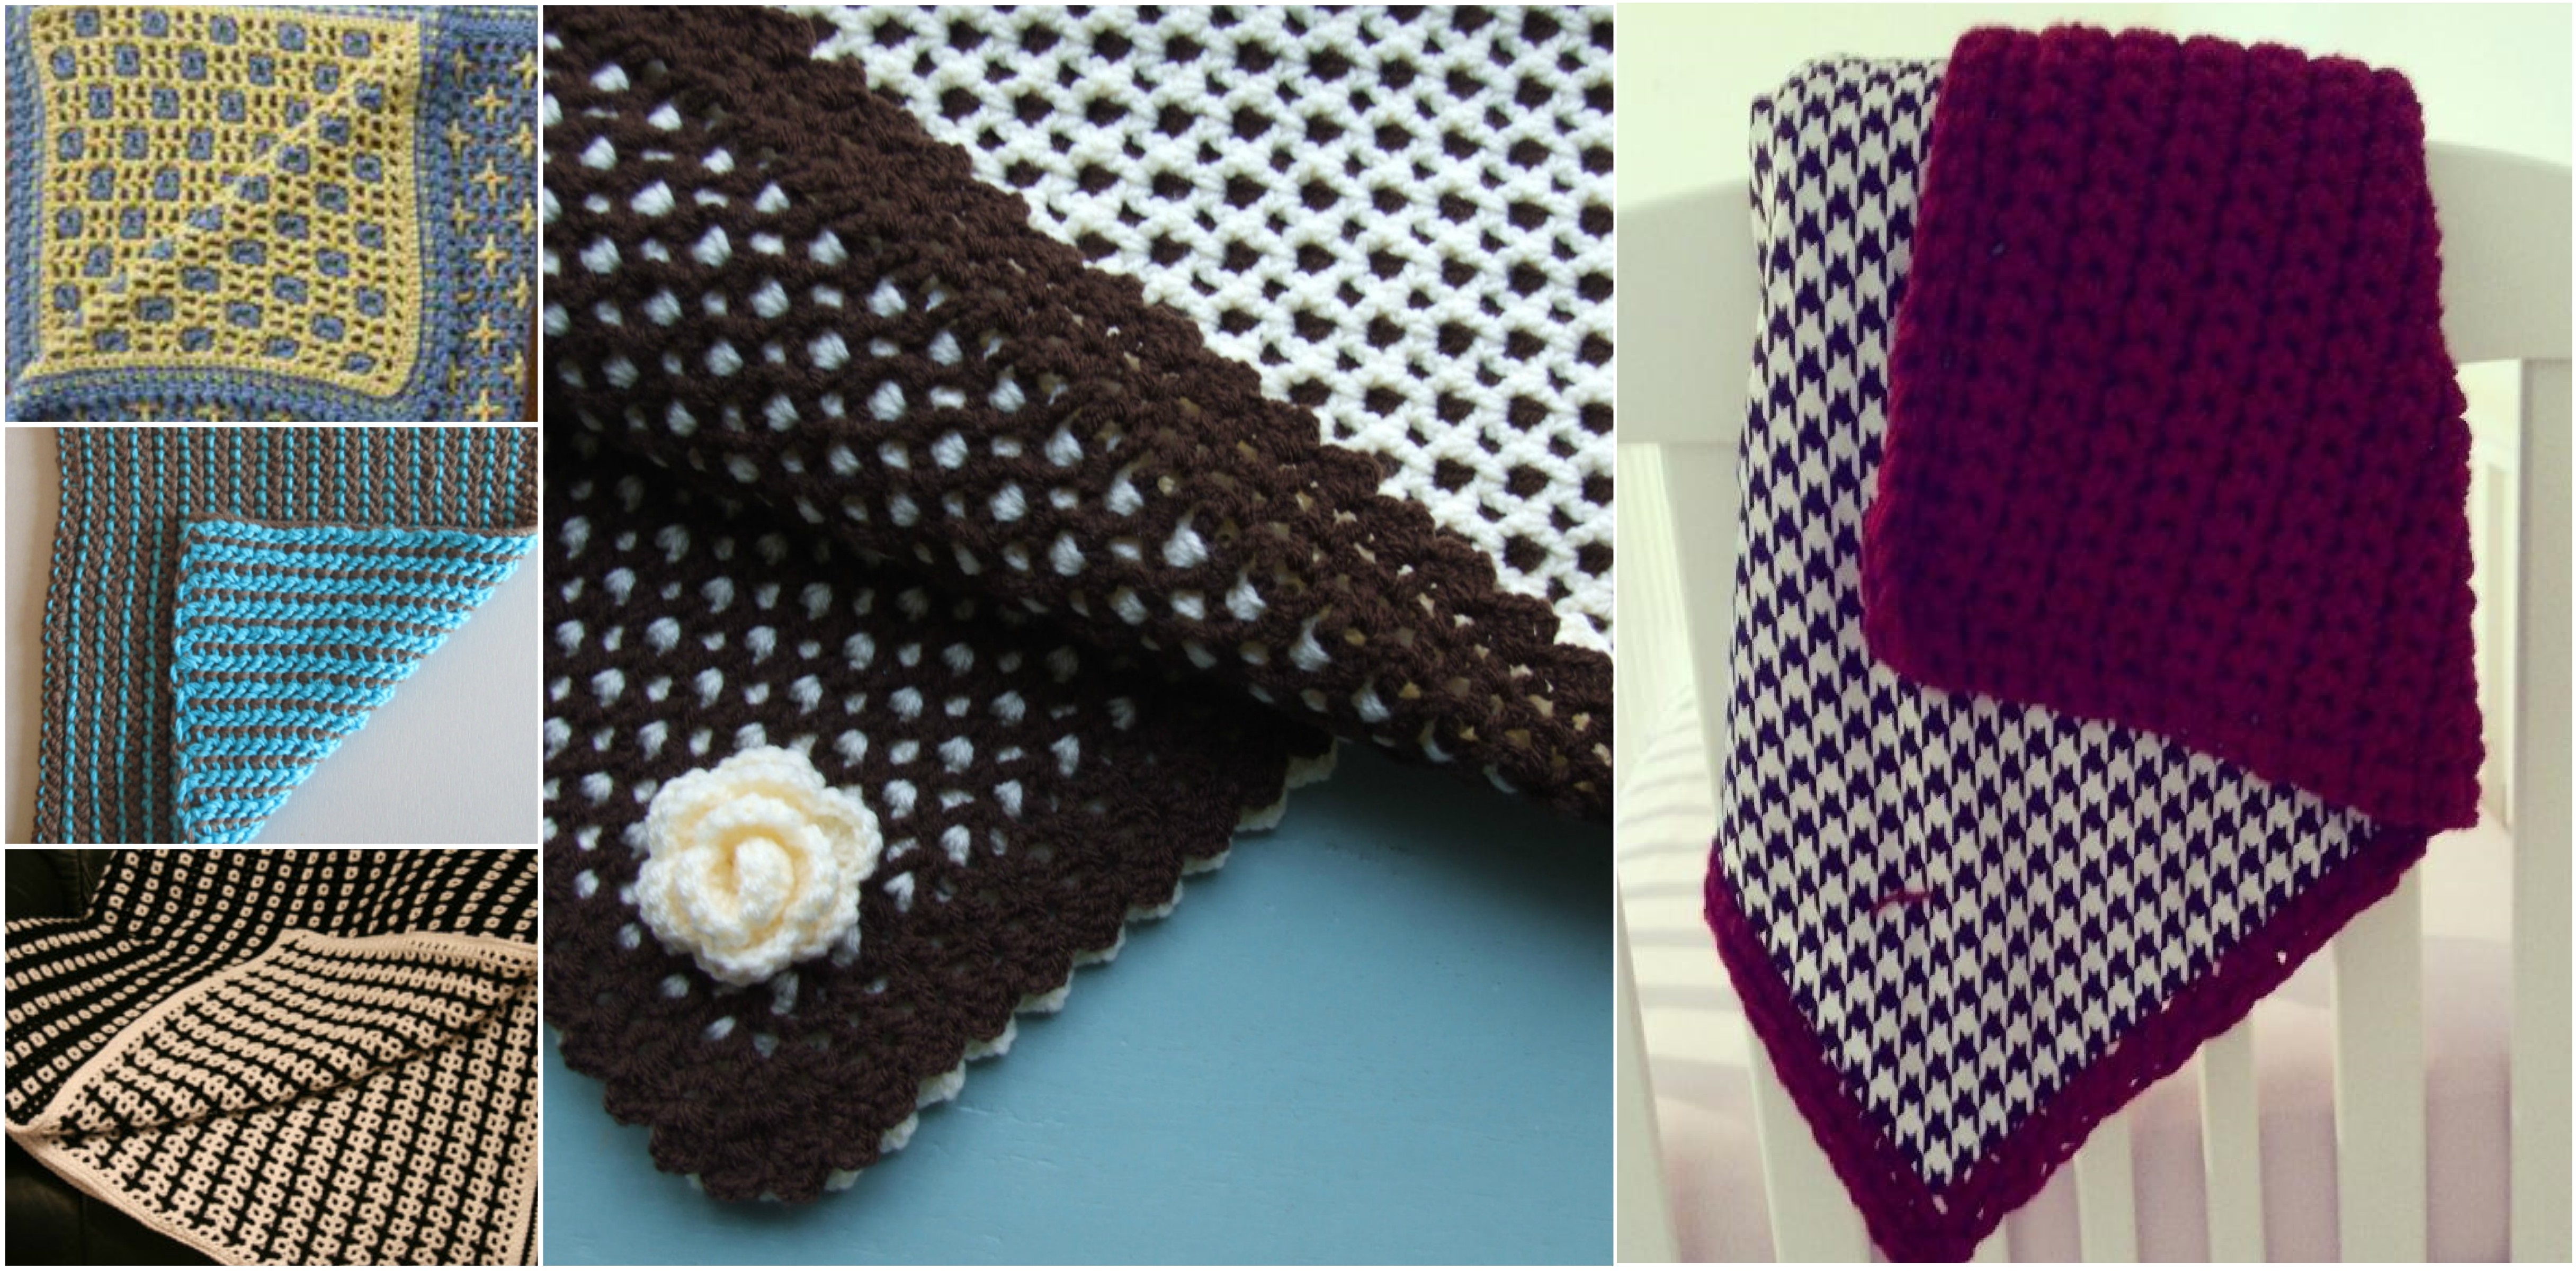
How to Make Reversible Crochet

Today we are going to share with you and article which of course will include the video tutorial about How to Make Reversible Crochet.
I’m sure you can’t wait to know how to crochet it… interesting right? well our in our video tutorial you are going to see how to crochet even the smallest details of reversible crochet, the video tutorial it not long which means that crocheting will not take much time and the techniques you are going to learn from it will help you to crochet many different projects.
How to Make Reversible Crochet
Creating a reversible crochet project is a fun and creative way to add versatility and interest to your handmade pieces. Reversible crochet allows you to have two different designs or textures in one item, which can be particularly exciting when crafting scarves, blankets, pillows, and more.
In this guide, we’ll go through step-by-step instructions on how to make reversible crochet projects, explore design ideas, and provide tips to bring out the best in your creations.

So start crocheting and show us your work when it’s done. Enjoy
Materials Needed for Reversible Crochet
Before you start, gather the following supplies:
- Yarn: Choose two or more colors if you want a contrasting effect. Cotton or acrylic yarns work well, especially for items needing durability.
- Crochet Hooks: Match the hook size to the weight of your yarn. Usually, a 4mm to 5mm hook is suitable.
- Stitch Markers: Optional, but helpful for marking rounds and complex stitches.
- Tapestry Needle: For weaving in ends and joining sections neatly.
- Scissors: For cutting yarn ends.
Sample Reversible Stitch Pattern: Double-Sided Half Double Crochet
This stitch creates a thick, warm fabric, perfect for reversible projects:
Instructions
- Start with a Chain: Chain any even number of stitches.
- Row 1: Insert the hook into the third chain from the hook, pull up a loop, yarn over, and pull through all loops. Repeat across.
- Row 2 and Beyond: Insert the hook into the back loop of each stitch, pull up a loop, yarn over, and pull through all loops.
Step-by-Step Guide to Crafting a Reversible Crochet Piece
Step 1: Plan Your Project
- Select Colors: Pick colors that contrast for maximum effect or keep it monochromatic for a subtle, textured look.
- Decide on a Pattern: Choose a reversible pattern based on your project type. For example, interlocking crochet works well for blankets, while tapestry crochet is great for scarves.
Step 2: Begin with a Foundation Row
Start with a foundation chain in your main color, ensuring that the chain is neither too tight nor too loose.
- First Row: Work your chosen stitch (such as half double crochet or double crochet) across the foundation row, keeping an even tension.
- Secure the Row: Finish the first row by chaining one and turning your work, if required by the pattern.
Step 3: Introduce the Second Color
- Carry the Second Color Along: Start carrying the second color by incorporating it into each stitch. This will make the second side stand out.
- Work Alternating Stitches: Alternate between colors every row to achieve the reversible effect.
Step 4: Continue Building the Pattern
- Repeat Rows: Continue working in rows, using your reversible stitch pattern. Be consistent in stitch tension for an even look.
- Check Both Sides: As you go, regularly check both sides to ensure your pattern is forming evenly.
Step 5: Finish Off the Project
- Last Row: Finish with a row in your primary color to give the piece a cohesive edge.
- Weave in Ends: Use a tapestry needle to weave in loose ends carefully on both sides for a neat finish.
With reversible crochet, you can transform a single item into two beautiful designs, adding creativity and functionality to your crochet repertoire. Whether you’re a beginner or an experienced crocheter, this technique opens up new possibilities for crafting unique, dual-sided pieces.
CHECK MORE CROCHET PATTERNS