Swirly Easter Bunny Crochet Pattern

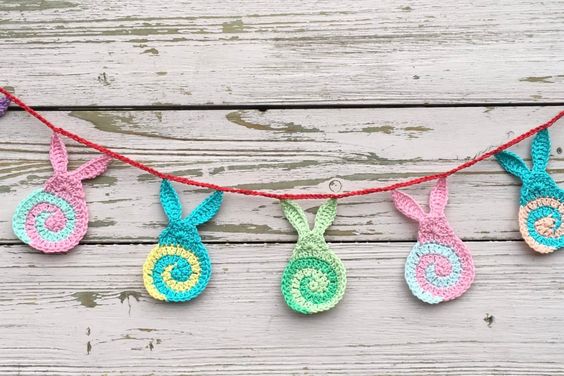
Rabbits are one of the main symbols of Easter and also one of the cutest ones to crochet. Crochet rabbits are perfect to use in your home decor and also a way to decorate your clothes.
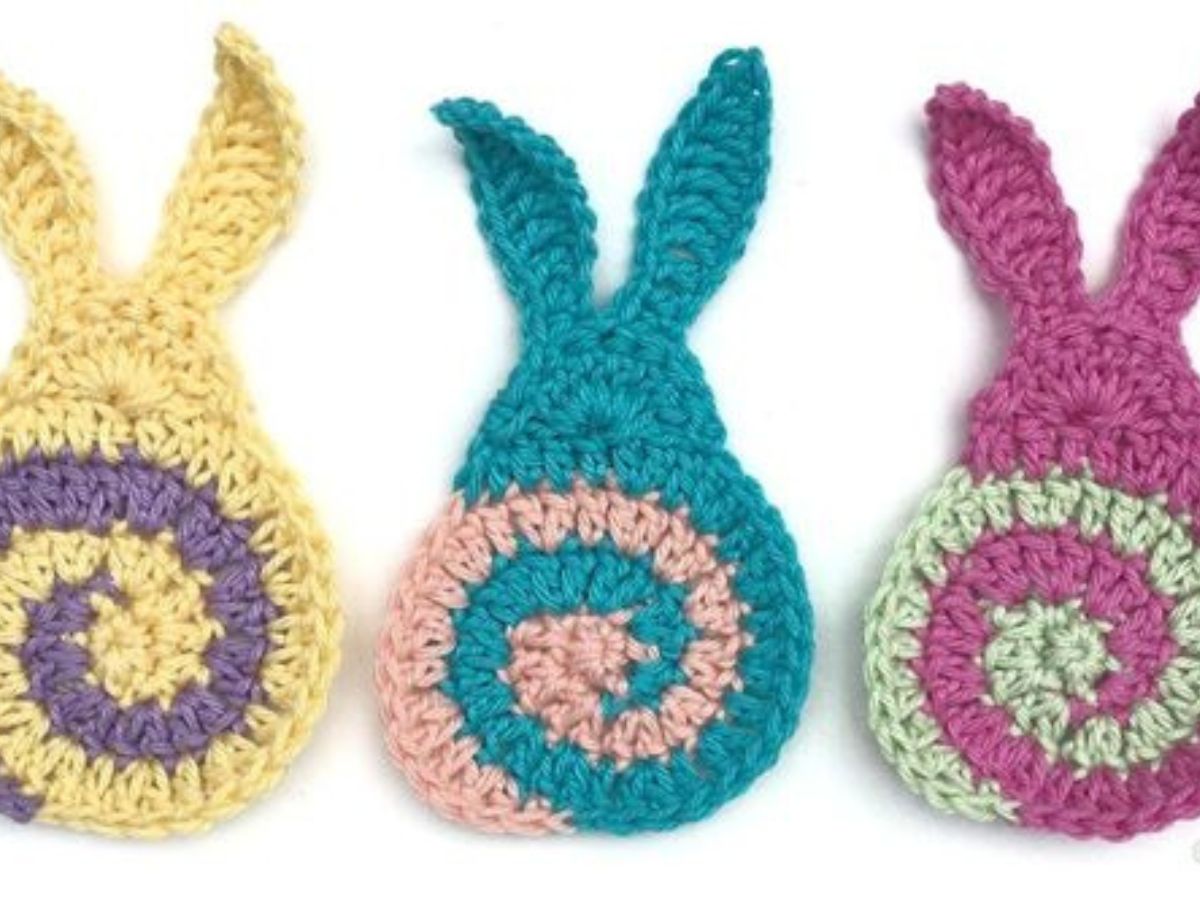
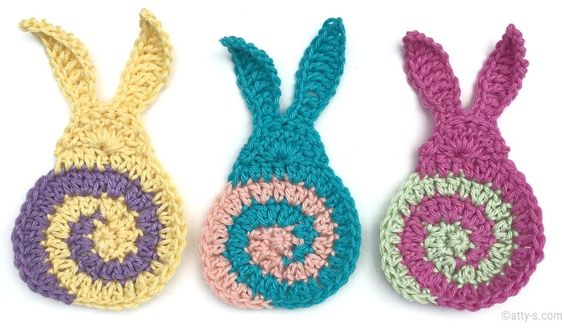
Our suggestion today is a little different, we show you how to make spiral Easter bunnies.
This is a very different alternative that makes your crochet rabbits more beautiful and different.
See too: Crochet Easter Bunny Basket Tutorial
Swirly Easter Bunny Crochet Pattern
Add charm and whimsy to your Easter decor with a Swirly Easter Bunny Crochet pattern! This guide will walk you through creating an adorable crochet bunny with a unique swirly design, perfect as a holiday decoration or a gift for loved ones.
Check out some creative spiral Easter bunny ideas here.


Pinterest.
Materials Needed
Before diving into this cute crochet project, gather these materials:
- Yarn: Soft, pastel-colored yarn (ideal for Easter). Consider white or light pink for the bunny and contrasting pastel colors for the swirl effect.
- Crochet Hook: Suitable for your yarn weight (typically 3.5 mm to 4.5 mm).
- Yarn Needle: For sewing parts together and weaving in ends.
- Polyester Fiberfill: For stuffing your bunny.
- Safety Eyes (optional): For a professional finish on the bunny’s face.
- Scissors: For trimming yarn.
Basic Stitches Used
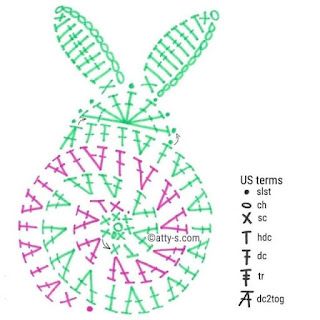
This pattern uses several basic crochet stitches, so make sure you’re familiar with these:
- Chain (ch)
- Slip Stitch (sl st)
- Single Crochet (sc)
- Double Crochet (dc)
- Increase (inc): Working two single crochets in the same stitch.
- Decrease (dec): Working two stitches together to reduce the stitch count.
Step-by-Step Guide: Creating Your Swirly Easter Bunny
Step 1: Begin with the Bunny’s Body
- Magic Ring: Start with a magic ring and work 6 sc into it.
- Round 1: Work 2 sc in each stitch around (12 stitches).
- Round 2: sc, inc repeat around (18 stitches).
- Continue increasing until you have a suitable body size, typically around 36-42 stitches.
Step 2: Add the Swirly Design
- Attach Secondary Color: Use a contrasting pastel color to create the swirl effect.
- Pattern: Work in the round, adding single crochet stitches in a spiral pattern, increasing as needed.
- Layering Technique: Crochet a loose, spiral row on the surface of the bunny's body, adjusting the spacing to create a whimsical, swirling look.
Tip: Use stitch markers to keep track of your swirls as they can be easy to lose track of in a spiral pattern.
Step 3: Craft the Bunny’s Ears
- Ear Foundation:
- Chain 6, turn, and work sc in each chain.
- Increasing the Ear Size:
- On subsequent rows, increase by working an additional sc at the beginning and end of each row until the ears reach your desired length.
- Shape and Finish:
- Taper the ear by decreasing on each row until you’re left with a pointed end.
- Repeat for the Second Ear and attach them symmetrically on the bunny’s head.
Step 4: Crochet the Arms and Legs
- Arms:
- Work in a continuous round, starting with a magic ring, and increase gradually to create a cylindrical shape for the arms.
- Legs:
- Similarly, start with a magic ring, but make the base slightly wider than the arms for stability.
- Stuff with Fiberfill: Before closing off the arms and legs, stuff them lightly with fiberfill for a plush effect.
Step 5: Assembling the Bunny
- Attach the Ears, Arms, and Legs:
- Use your yarn needle to sew the ears, arms, and legs onto the body securely.
- Position the Swirl Pattern:
- Adjust the swirly yarn details to make sure they’re visible from the front.
Step 6: Face Details
- Eyes: Insert safety eyes or use black yarn to embroider simple eyes.
- Nose and Mouth: Use pink or black yarn to create a small nose and an optional smile.
Step 7: Adding a Pom-Pom Tail (Optional)
- Create a small pom-pom using white or pastel yarn and attach it to the back of the bunny for an adorable tail.
Discover how to crochet a delightful Swirly Easter Bunny! This guide provides step-by-step instructions, creative uses, and care tips. Perfect for Easter decorations or gifts!
CHECK MORE CROCHET PATTERNS