Granny Square Bucket Hat Crochet: A Stylish Accessory for All Ages
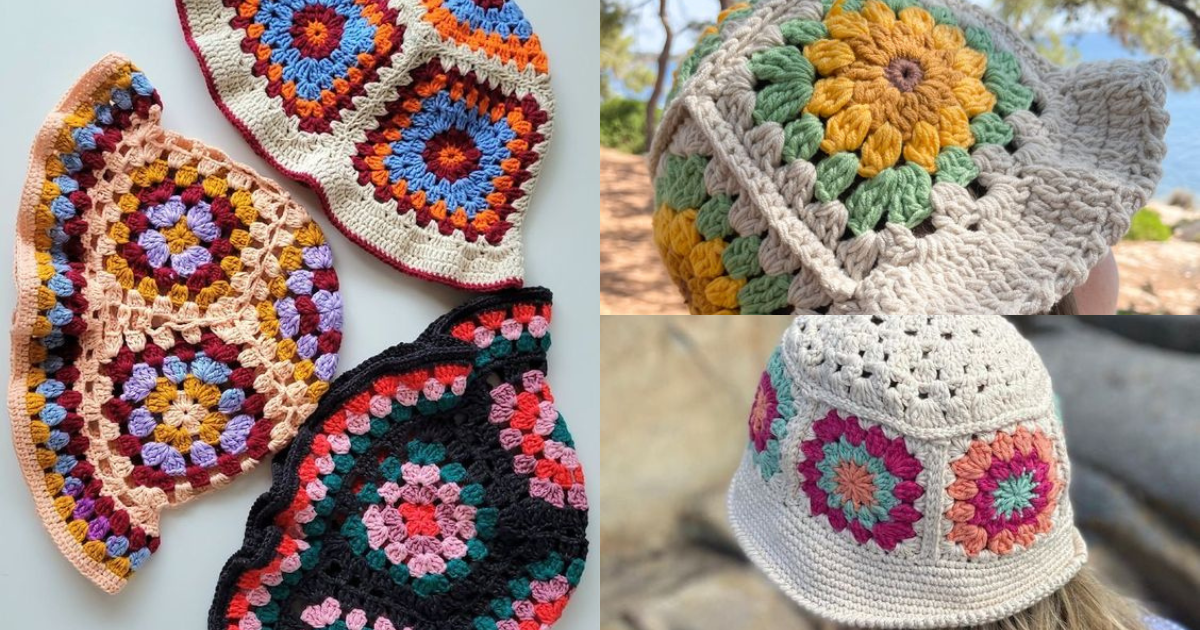
Are you ready to embark on a creative crochet project? In this article, we'll explore the charming world of granny square bucket hats. With their unique design and versatility, these hats have become a trendy fashion statement for people of all ages.
Whether you're a crochet enthusiast or a beginner eager to learn a new skill, this guide will provide you with the necessary steps to create your very own granny square bucket hat. So grab your crochet hooks, choose your favorite yarn, and let's get started!
Granny Square Bucket Hat Crochet
The Timeless Appeal of Granny Square Bucket Hats
Granny square bucket hats have stood the test of time, captivating fashion enthusiasts with their nostalgic charm. Originally popularized in the 1960s and 1970s, these hats have made a remarkable comeback in recent years, becoming a must-have accessory for those seeking a unique blend of vintage and contemporary style.
The intricate patterns and vibrant colors of granny squares add an artistic touch to any outfit, making these hats a versatile and eye-catching addition to your wardrobe.
Materials:
Before diving into the crochet process, let's gather the essential materials and tools you'll need to create your granny square bucket hat. Here's a list of items to prepare:
- Crochet hooks (size will vary based on your desired hat size)
- Worsted weight yarn (choose colors that complement your style)
- Yarn needle (for weaving in ends and joining squares)
- Scissors (to trim yarn and cut thread)
- Measuring tape (for precise sizing)
- Stitch markers (optional but useful for tracking progress)
- Embellishments (buttons, ribbons, flowers, etc.)
Having these materials ready will ensure a smooth and enjoyable crocheting experience.

Step 1: Selecting the Right Yarn and Hook
To begin your crochet journey, it's important to choose the right yarn and hook size for your granny square bucket hat. Worsted weight yarn is recommended for its versatility and ease of use. Opt for colors that express your personality and match your desired aesthetic. As for the hook size, it should correspond to the recommended gauge provided on the yarn label. This will ensure that your stitches are even and your hat turns out the perfect size.
Step 2: Understanding Granny Squares
Granny squares are the building blocks of your bucket hat. They consist of clusters of stitches that create a
square shape with intricate patterns. Familiarize yourself with the basic crochet stitches such as chain stitches, double crochet, and slip stitches. Understanding these stitches will help you follow crochet patterns and create stunning granny squares with ease.
Step 3: Creating the First Granny Square
Let's dive into the crochet process by creating your very first granny square. Start by chaining a certain number of stitches (depending on the desired size of your square) and join them to form a ring. Then, work a series of stitches into the ring following the pattern instructions.
Repeat the pattern for each round until your square reaches the desired size. Don't be afraid to experiment with different color combinations and stitch variations to create unique designs.
6. Step 4: Joining Granny Squares Together
Once you have created multiple granny squares, it's time to join them together to form the crown of your bucket hat. There are various methods for joining squares, such as slip stitching, single crochet, or sewing with a yarn needle.
Choose the method that suits your preference and the look you want to achieve. Take your time to align the squares evenly and securely attach them to create a cohesive and visually appealing hat crown.
Step 5: Shaping the Crown of the Hat
After joining the granny squares, it's time to shape the crown of your bucket hat. Begin by working additional rounds of stitches in a continuous manner, gradually increasing the stitch count to create a slight dome shape.
This will provide a comfortable fit and sufficient space for your head. Adjust the size and height of the crown according to your preference, keeping in mind the overall proportions of the hat.
Finishing Touches and Embellishments
Once you've completed the main structure of your granny square bucket hat, it's time to add the finishing touches and embellishments. Use a yarn needle to weave in any loose ends and secure them neatly. Get creative by attaching buttons, ribbons, flowers, or other decorative elements to personalize your hat. These small details will elevate the overall look and make your granny square bucket hat truly unique.
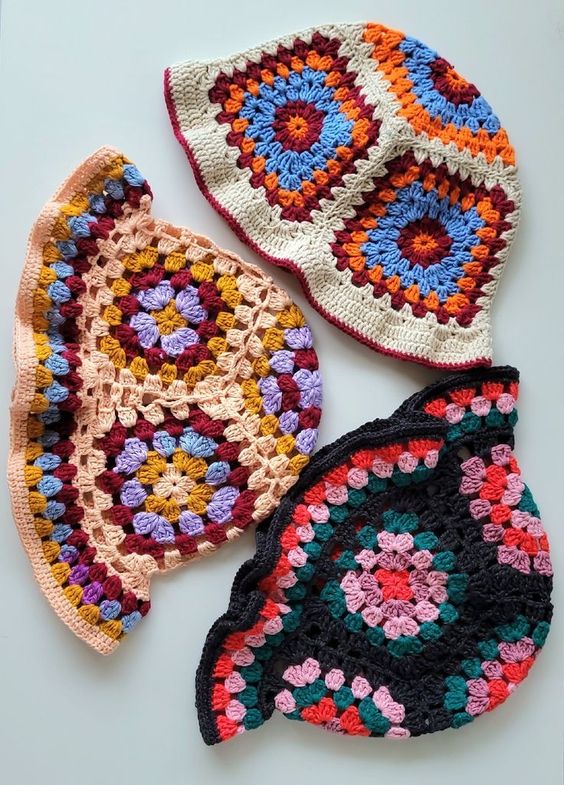
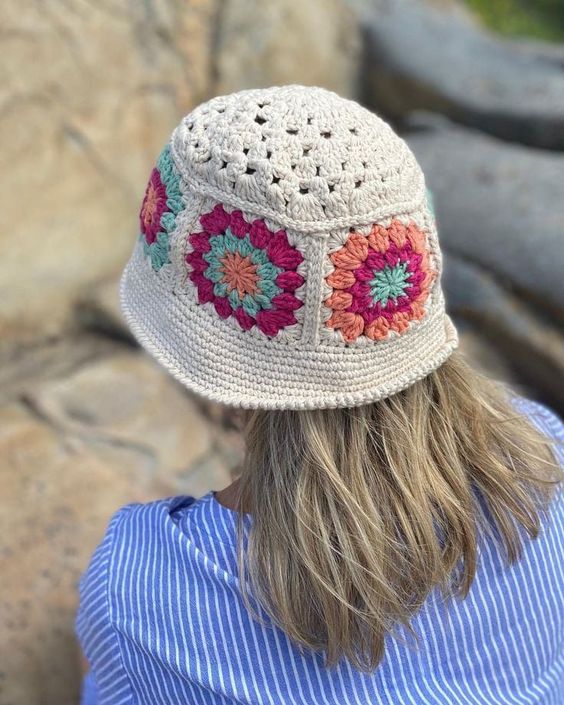
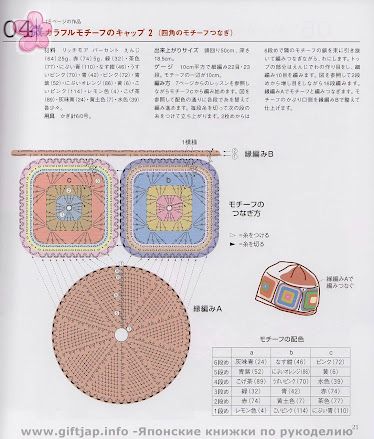
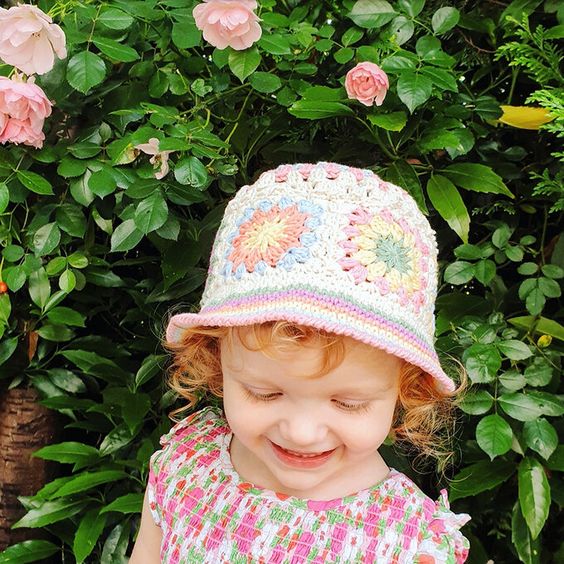
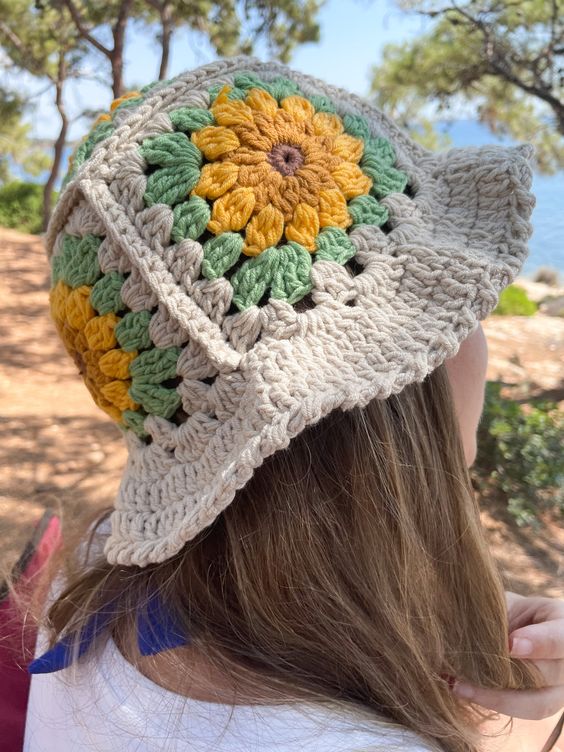
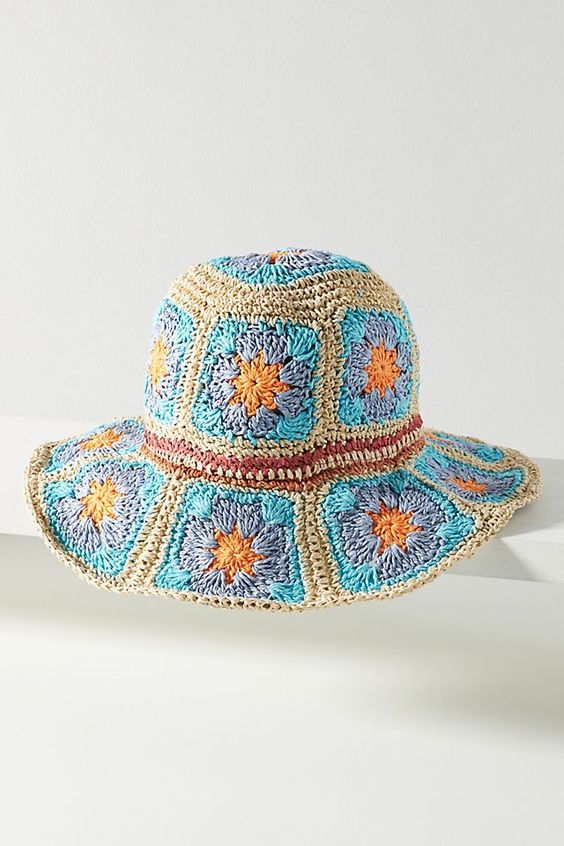
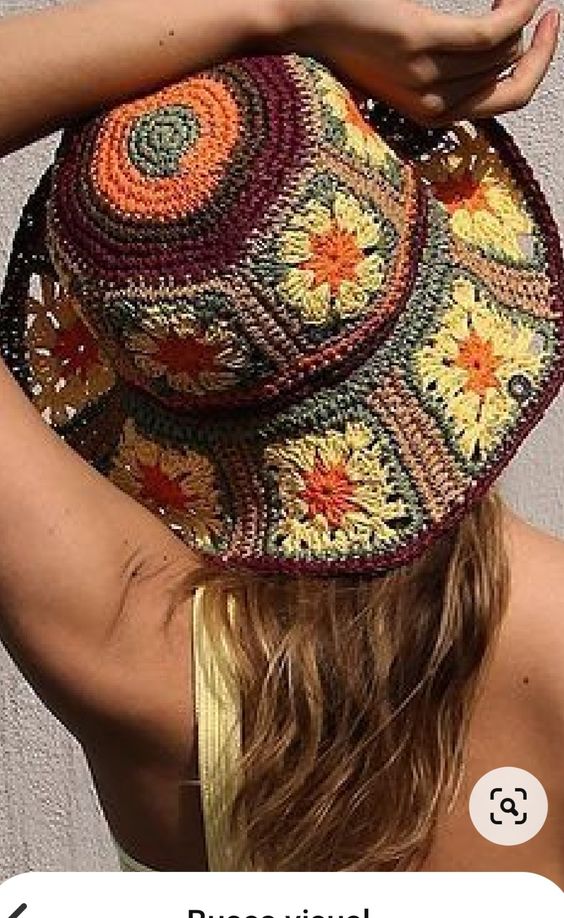
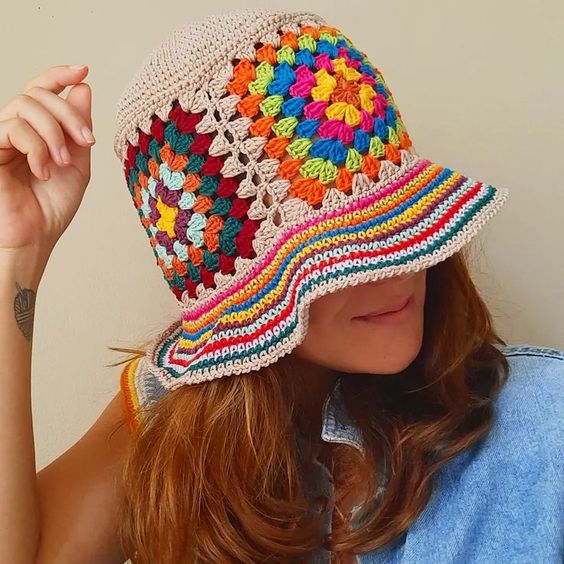
Crocheting a granny square bucket hat is a delightful and rewarding experience. Through the careful selection of yarn, the creation of intricate granny squares, and the addition of personalized touches, you can fashion a stylish accessory that reflects your creativity and individuality.
So, gather your materials, follow the steps outlined in this guide, and enjoy the process of crafting a beautiful granny square bucket hat that will turn heads wherever you go.
CHECK MORE CROCHET PATTERNS